The following tutorial will teach you how to design and make your own petticoat. It's based on a project I did in the past and updated to deal with some mistakes I made during that first construction. If anything in this tutorial is unclear, don't hesitate to ask or comment below.
Equipment:
Fabric amounts given below depend on your own designing choices, I would recommend to buy extra fabric or work out the maths before buying the fabric. The given amount should give you enough fabric for a petticoat measuring around 70 cm from waist to hips. What size you are doesn't matter a lot for the tulle since you will be gathering lots of extra fabric in anyway.
- Four meters of tulle
- One meter of lining fabric
- I would recommend a stretch satin, or any other stretch fabric
- You will need at least the length of the skirt + 15cm, If your hip circomference+6 cm is bigger than your fabric width, add some extra yardage as well.
- A lot of sewing thread match this with the lining fabric. I think we used around one whole bobbin.
- Some 2.5 cm wide elastic
- as long as your skirt's "waist" circumference
- Pins
- Patience
Measurements
You will need following measurements for this tutorial:
hip circumference
- This is your regular hip measurment. Add 6 cm wearing ease to this measurement.
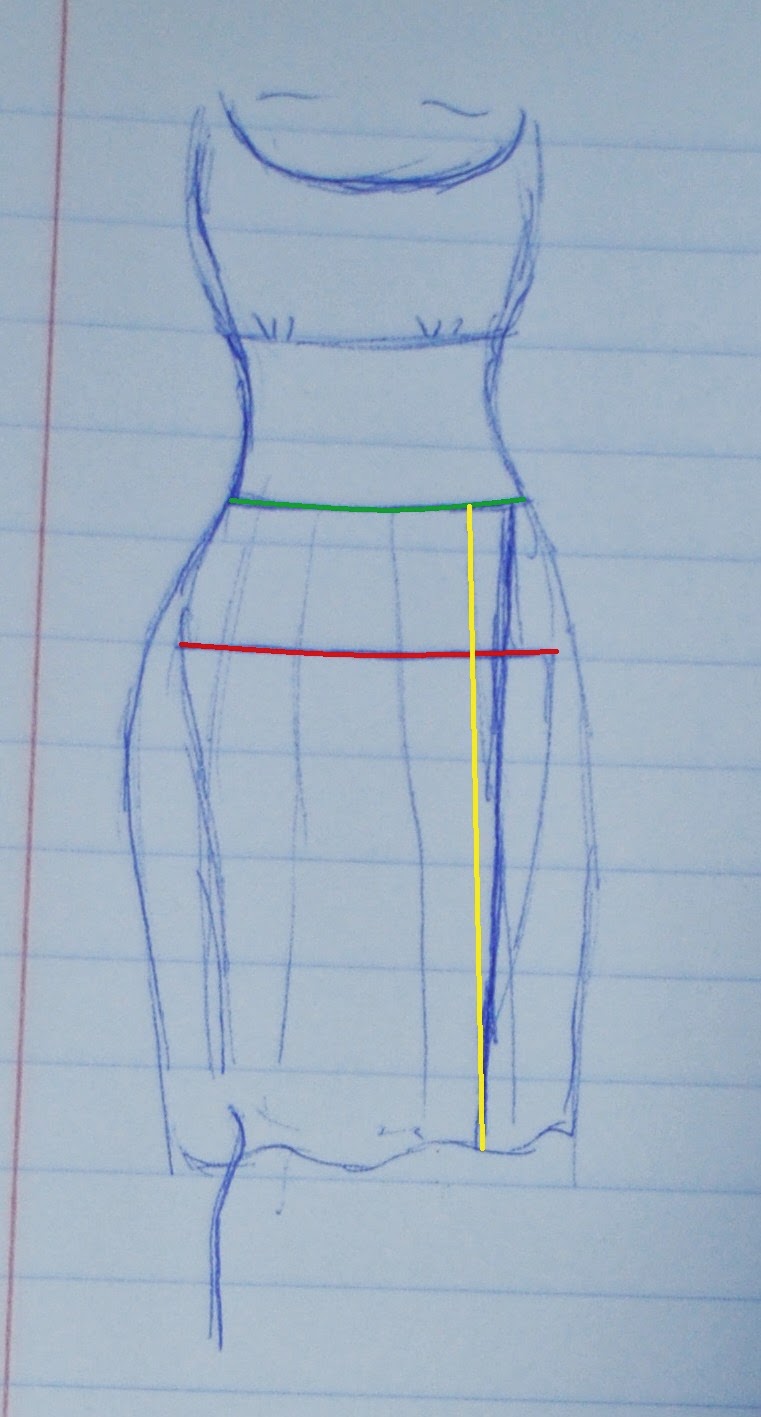
circumference of the waist
- This is the place you want the skirt to sit, this can be lower than your actual waist.
- Measure your waist of skirt circumference 2.5 cm higher than you would like the petticoat to start giving fullness. (This is to account for the 2.5 cm's of elastic used in this project).
- Add 2 cm to this measurement for wearing ease.
length of the skirt
- measure from the circumference of the waist to the point you want your skirt to end.
- I recommend basing this value on the shortest dress you want to wear this petticoat under. Petticoats are usually 2 cm shorter than the skirt you wear them with (to make them invisible).
- To measure this tie a ribbon around your desired waist circomference and let someone measure down from this point to the hem of the shortest skirt you want to wear a petticoat under. substract 2cm from this measurement to make the skirt invisible.
For example I made mine: Hip circumference 88 cm, Waist of skirt circumference 72 cm (the skirt sits at the high hip measurement), Length of skirt 42 cm. This gives a fairly short (above knee) petticoat.
Deciding on the form and fullness
The next step is the most fun and important one. It's time to decide on the shape and the fullness of your petticoat. There are a few factor's you can manipulate to change these.

The length of your petticoat will decide a lot about it's shape. The shorter you make it, the less effort you will have to make (read fabric you will have to invest) in making the skirt really full. Shorter petticoats worn under long dresses will however be visible since the unsuported fabric will drop vertically down. (picture on the left).
Another very important aspect is the length and number of the individual strips of fabric. The more strips you have the more dramatic increase in the amount of fullness. And off course the more fabric you will need. Regularly petticoats have 3 or 4 tiers. (The more tiers the more work)
 |
| Different shapes petticoats can have. |
The height of these tiers is crucial in defining the shape of your skirt. Are the top tiers short and the bottom ones longer? You will achieve a bulging full clock effect, do it the other way around and you will get a swingy low fullness. You can make all sorts of shapes if you combine this with the amount of fabric and gathering involved. For example in my petticoat I used four strips or tiers from the top till the bottom with heights: 8cm, 8cm, 12 cm, 14cm. This makes my petticoat bell shaped, witch is good for a typical retro look.
The amount of fabric you increase in every tier (total length of each tier) will have a large impact on the fullness as well. The petticoat is constructed by gathering long strips of fabric to shorter strips of fabric. The more these strips differ in length the fuller the skirt will become at that level. The more difference in length the more dramatic the change will be on this layer. If you are aiming for a normal clock petticoat be sure not to go top dramatic, you want to keep the petticoat looking round not zigzag. I used a difference of 2 m for each strip in my petticoat. 2,4,6,8 or 3,6,9... are combinations that are often used. Most important in this is to keep the increase in fabric gradual to keep a nice and curvy shape.
 |
| The outer left skirt hasn't got enough fullnes, While the third one from the left has too much. The difference between the layers doesnt give a smooth transition. The right one has to little fullnes in the top part and is ok in the bottom part. |
These guidlines can help you make any shape of petticoat you want. Completley understanding them or designing your petticoat from scratch is'nt really necessary. I'll give you the correct measurements for a kneelength and a short petticoat in the next chapters, both resulting in a normal retro bell shaped look. These measurements work fine for me and have also been tested on larger sizes.
Working out the pattern pieces
After deciding this you can work out how much fabric you will need. I ended up drawing myself a little schedule to keep track of things. You will need to know the height and length of the tiers.
Height of the tiers: just divide the skirt length you want by the amount of tiers you have decided on. Then redistribute these values until you have an effect that you think will look pleasing. For example: I wanted my skirt to be 42 cm long. I divided this by 4. So I had 10.5 cm. I wanted a clock effect with shorter tiers on top and longer at the bottom. So I took some of the height away at the top tiers and gave it to the bottom tiers. It's important to add an extra 1.5 cm seam allowance to all of these tiers!
Length of the tiers: This will be decided by how much fabric you want to add per tier. You will have to start from the highest tier. In the finished skirt this is the part that will really define the start of the curve. You will have it gathered down to the hip circumference in the finished project. Start from that knowledge and decide for yourself how dramatic you want your skirt to be. (I used 2m gathered down to 88cm). If you have a wide hip circumference 3m will get a more dramatic effect. for each following tier I added another 2 m of fabric.
The following is a schematic of how I cut out my tulle strips for my petticoat. You will need 4 m of tulle, 77 cm wide (wich leaves you with a bit of extra since tulle is usually 1 or 1.2 m wide). At the left side you can see the heigth of the tiers with the seam allowance, at the bottom of the tiers you can see the length of the strips. The total length of this petticoat was 42 cm. (click image to enlarge)

You can make a similar scetch if you want your own design or just copy this one. At the end of this paragraf you'll find one for a longer petticoat (with a total length of 60 cm). Note that you will have to stitch some tiers together since the strips are longer than the fabric we 'll be using.
An important point to note here is that you should cut the upper tier twice. This tier is used double to give the first layer extra strength and to compensate for the weight of the lower tiers. When you do not do this the skirt would be considerably less round in the upper hip areas.
This is an example for the pattern of a longer petticoat. The main difference is the with of the tiers, wich you can see at the left of the scematic.
Cutting and marking fabric
Lay out the lining fabric wrong side up. draw a rectangle as wide as your hip circumference + 3 cm total seam allowances + 6 cm wearing ease (do not forget this). The height of the rectangle should be the length of your skirt + 1.5 cm seam allowance + 4 cm for the double folded hem. Draw another rectangle with the same width and a height of 10 cm. (This will become the separate waistband). Cut those out and finish the edges so they do not fray.

Lay out something on the table that can become stained. We will be marking the tulle with regular felt tips. (No one will see this and otherwise you won't see where to cut). Lay out as much of the tulle flat as will fit your table. Ideally this will be part of the length and the total width. Measure out the width of each tier as many times as you have need of them but add 1.5 cm seam allowance. (Refer to your own sketch you made in the last step in doing so.) You can see on the picture of the sketch above that I numbered the tiers and that I numbered the measurement from the top. I just added up all of the numbers so I could quickly reference them and put felt tip marks on the correct spots. Measuring goes like this. Put the measuring tape perpendicular to the long side of the fabric. Measure out the tier borders quickly by using the measurement chart you created. Move a meter farther down the fabric. Do this again. connect the dots. start cutting the fabric on these lines. Move the fabric down. Measure the tiers again, 1 m further in. connect these dots with the lines you have cut. cut along these lines. Repeat until the end of the fabric. Mark the fabric with the number of the tier. Do not forget to cut the upper tier twice.
Sewing the petticoat
Next part is the fun one. And the mind numbingly boring one at times. Start sewing. One of the fun things about tulle is that it doesn't require finishing, and that its nearly impossible to do so. There is no need to take measure against fraying. Tulle does tear easily when caught on something sharp.
1. Connect the tiers that are made out of different parts at the side seams so they form one long long long strip. (For example if you need a strip of 8m and you started out with 4m of fabric you will have cut this out in two strips measuring 4 m, and you can now connect these)
2. Pin the first tier on itself (you will have a double layer of tulle now) and baste 1 cm from the top with your largest machine stitch. Do this for all the tiers (to make gathering easier).
3. Pin the end of tier 4 to the end of tier 3, while gathering. The basted edge of tier 4 should be against the non basted edge of tier 3. This may sound easy, but the amount of fabric made this a really hard step. After the classical method of trial and error I ended up with the following technique.
To gather evenly you will need to pin the tiers together at regular intervals. To do this in the most efficient way I ended up measuring the short tier (lowest number, the one closer to your waist) and put a pin at regular intervals that I decided on arbitrarily. I used 0.5m for all tiers except the last ones.
Next you will have to work out how much of the long tier you have to spare for each of those intervals. (for example if you are gathering a 8m tier to a 6m tier, you will have a total length of 2 m to distribute). I found that it was easiest to work this out in the following way: I asked myself how many times the interval I chose went into the short tier. (If you pinned this one already you can just count them). For example: 6m : 12 = 0.5m. Next just divide the length of the long tier by the same amount you have divided your shorter strip. In our example: 8m :12 = 0.66m. You will have to measure 66cm before pinning it to the already pre pinned tier.
Make sure not to twist the fabric while pinning. The same side should be up at all times. Start gathering using the basted stitch. I found that this was easiest while sewing. Put your needle in starting position and the pressure foot down. Gather the portion of the longer strip you have so it matches the shorter one on your machine. Check this by pulling both tight. distribute the gathers evenly and pin. I would recommend sewing to fix these down immediately after to prevent double work when having to start over due to vanished pins.
Add tier 2 in the same way, and guess what, tier 1 as well. Put this heap of tulle aside. The hardest part is over.
4. Put the waistbands good side onto the good side of the lining along the long upper edge (the one with the width of the skirt). Stitch this seam 1.5cm from the side. Press up toward the waistband. Pre press the waistband in to, pressing in the top seam allowance firts and then the rest of the waistband double. Press the hem at this point as well.
5. Stitch the side seam of both of the skirts shut.
6. Put the tulle skirt in between the waistband sandwich. Gather the top tier to the length of the lining. Do this like described in step 3 but use 0.25 m instead of 0.5 m. Stich this down twice. Leave a gap about 2 cm somewhere in the skirt. This is where the elastic will go.
7. Finish the hem.
8. Cut a piece of elastic slightly smaller than the circumference of the waist (the measurement from the beginning). Insert this into the tunnel. Stitch together.
9. Finished!
Labels: petticoat, sewing, skirt, tutorials, vintage


.JPG)
.JPG)
.jpg)
.jpg)
.jpg)
.jpg)
.jpg)
.JPG)
.JPG)
.JPG)
.jpg)


.JPG)
.jpg)
.JPG)
.jpg)


.JPG)
.JPG)


