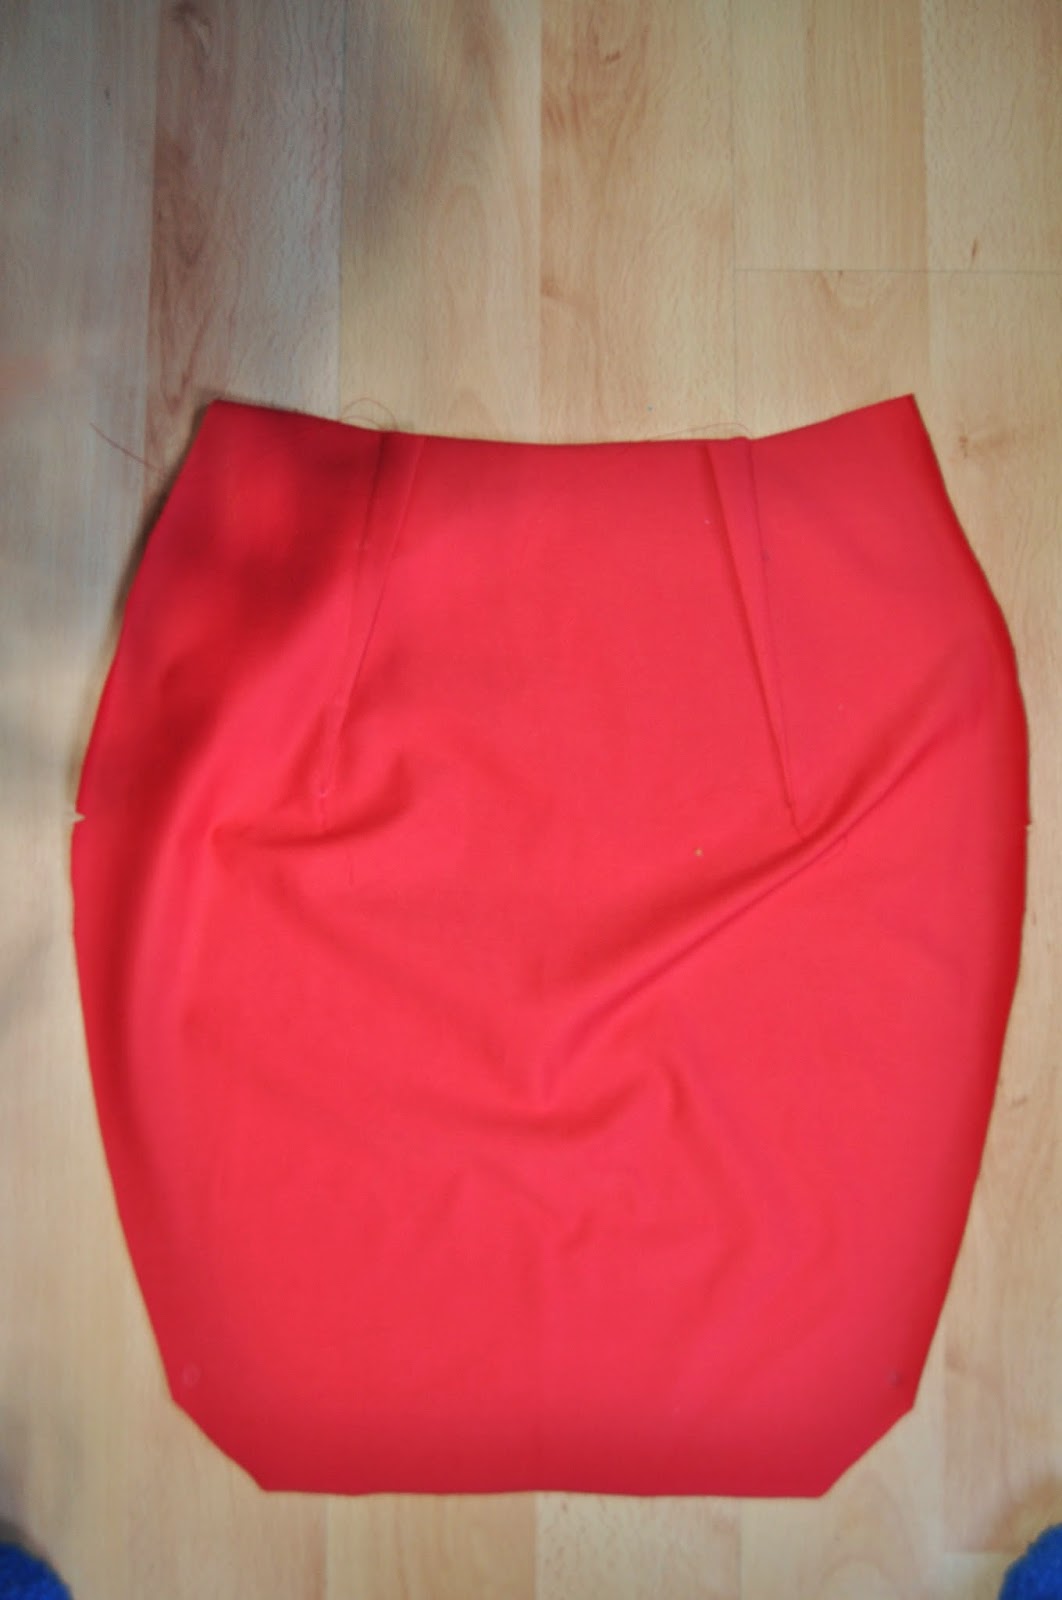
The Heartskirt: construction
cutting the pieces
All pieces are cut on the fold. This gives for a rather unusual cutting plan: first fold over your fabric the width of the front pattern piece. Put both front and back skirt pieces on the fold and cut them out. fold over your fabric again to the width of the godet piece. Cut this out. Fold over again to the width of the back facing. Cut out back and front facings with this piece.Cut a strips of 6 cm by your fabric width for the ruffle You should have a little over 3 meters of ruffle for all sizes. stitch these strips together.
Transfer all markings
Transfer all pattern markings with your preffered method.Interfacing and painting the fabric
1. Cut some stretch interfacing to fit your back and front facing pieces. Fuse these in place. 2. Paint dots on the ruffle pieces using fabric paint and a cotton swab (like the ones used to clean your ears). Put the dots spaced out evenly, you can choose their densety yourself. putting straigt lines of dots in one go will help you put them evenly.
Let these dots dry. Iron the painted fabric one minute to fix it or follow the instructions of your specific paint.
Construction

1 Close all darts in the front and back skirt pieces. Press them toward the center of your skirt.


2. Transfer the heart marking to the front of the skirt using pins (first picture), pin a ribbon to the fabric using these pins as a guide turning it in in the beginning and in the end to prevent fraying (second picture), check placement and symmetry (last picture). Stitch in place using a straight stitch.


3. Put in the invisible zipper: press seam allowance on the left sideseam to the inside marking the placement of the zipper. Pin the zipper in matching the teeth with the pressed line putting the zipper on the good side of the fabric. (second picture) Stich with a special pressurefoot.
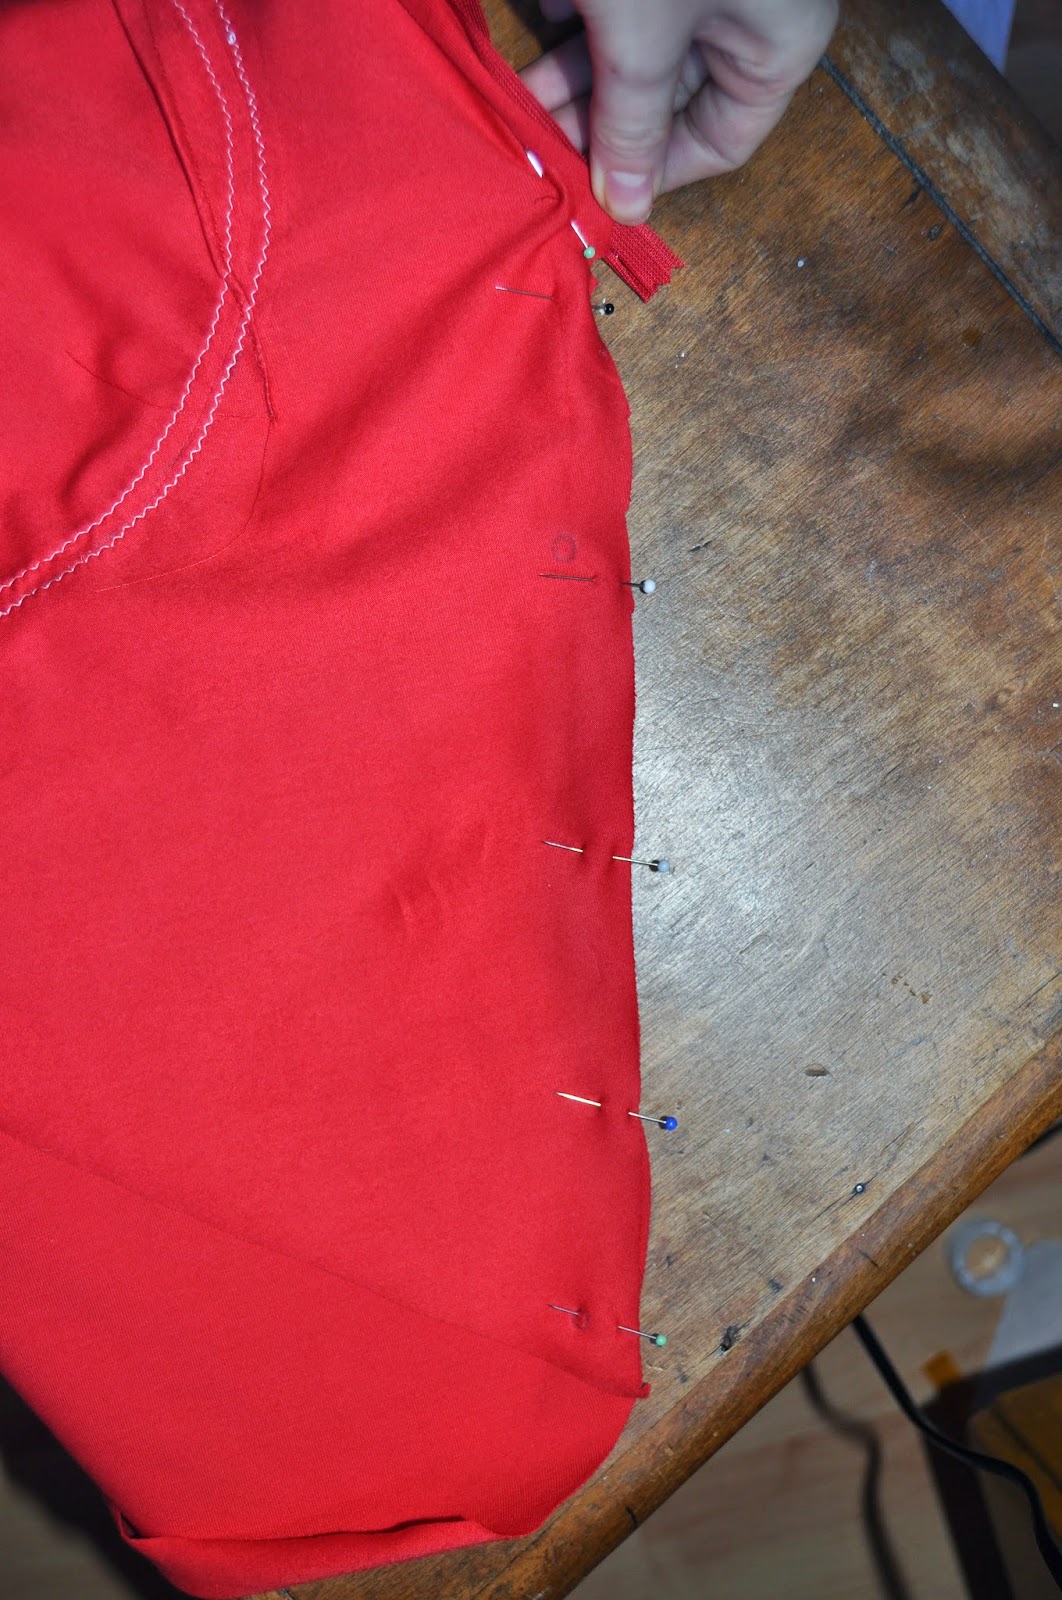

repeat this for the second zipper 'leg'. pin the rest of the sideseam and stich this like you would with a regular seam.

4. Stich other sideseam. This is a good time to try the skirt on for fit if you need to take in the sideseams a bit it'll be easier to correct it now than later.


5. Pin the godet in place. Make sure the circles are matching. The notches on the godet piece should match the side seams. Stitch in one continuous line pivoting at the circle.
6. Stich right sideseam of facing, leaving the left seam open to finish at the zipper.

7. Stich the top of the facing to the top of the skirt. turn facing to inside and press.
8. Hand stitch facing to darts, under stitch at side seams and whipstitch facing down around the zipper.
9. Gather the ruffle pieces using a basting stitch. These should already be stitched together at this point. You will have to pull stitches at intervals to be able to gather this evenly. Start pinning to the skirt, ajust gathering where necessary. Stitch in place.
posted by Unknown @ 23:13
0 Comments
![]()

0 Comments:
Post a Comment
Subscribe to Post Comments [Atom]
<< Home